
Rhodo Care-Calendar
October
By Carrie Nelson
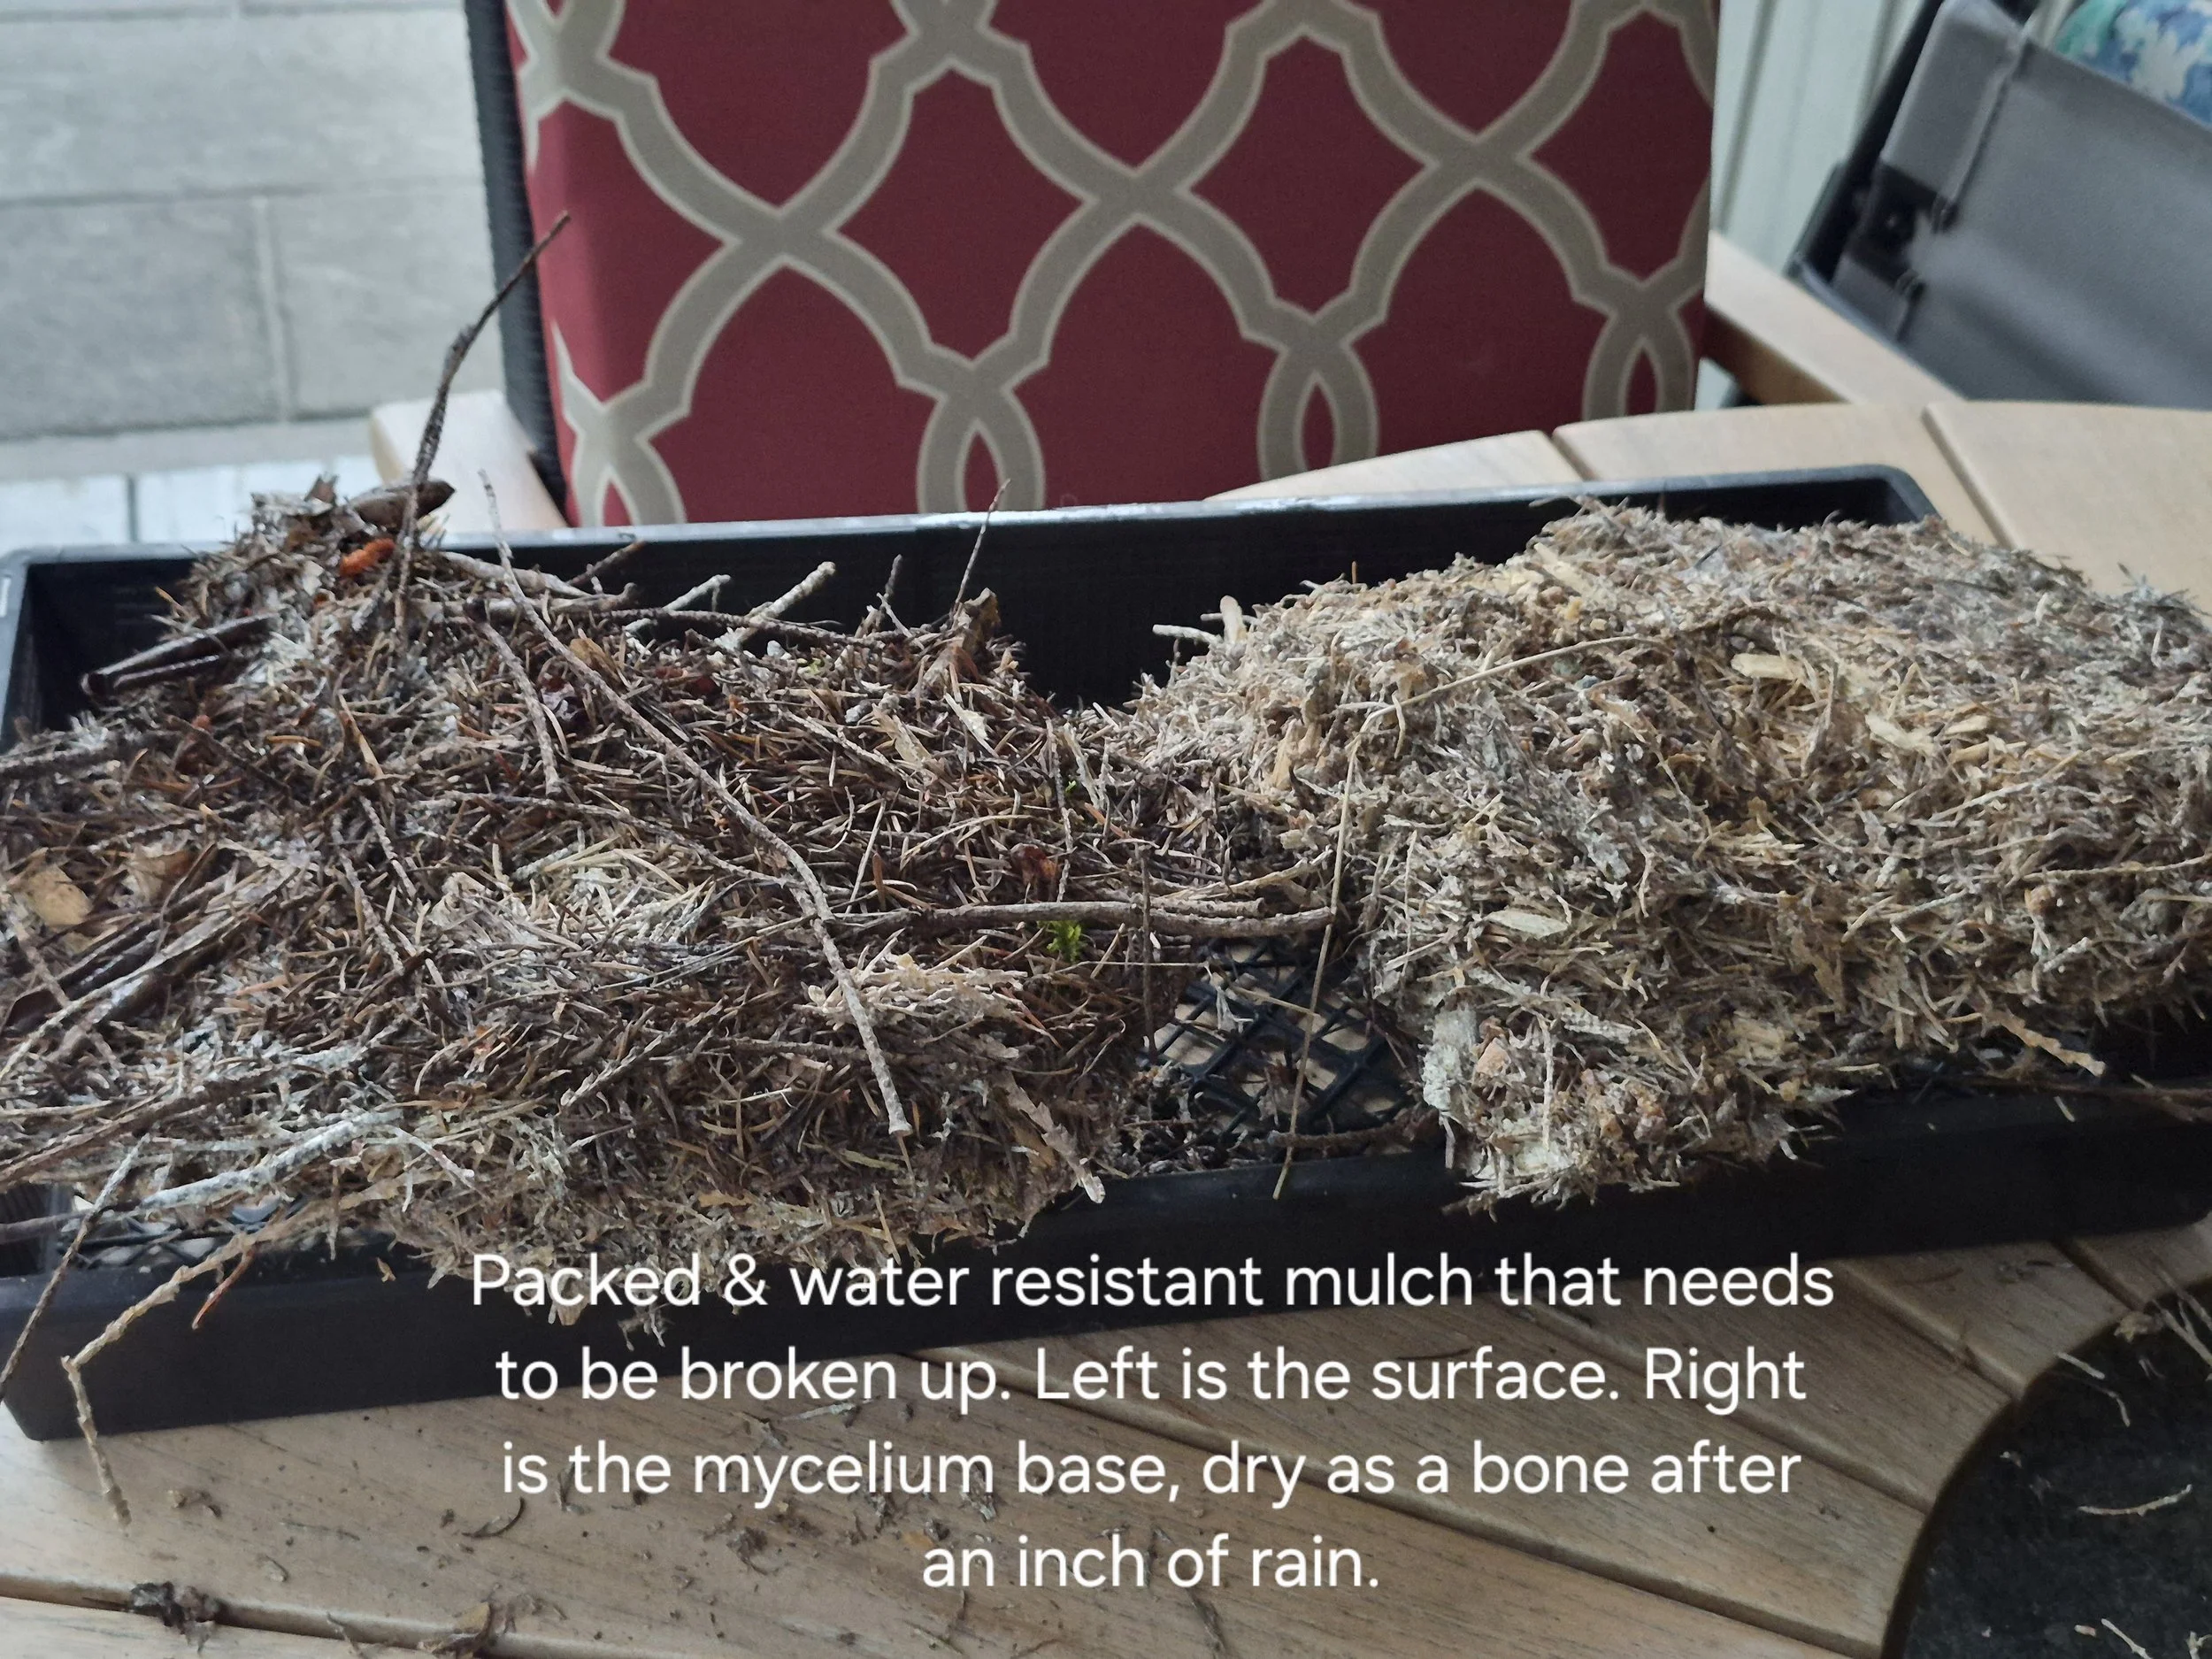
Top and underside of a mulch "slab" after an inch of rain. It's still bone dry underneath.
I'm writing this from memory as I'm on a road trip with intermittent WiFi to check my facts. I also recognize other members will have different practices, but the following has worked for me.
I planted my first rhododendron 46 years ago, when we got almost an inch of rain a week throughout the summer, keeping all plants and lawns healthy. Now, with drought conditions and water restrictions, what can we do in October to ensure these beautiful plants live on?
What is the most important job to be doing for your rhododendrons in October?
It bears repeating Verna's message in the September newsletter. WATER AND MULCH in October. (The soil must also drain well to ensure oxygen can reach the roots.)
I highly recommend breaking up the mulch on your beds before watering. Continually adding mulch over time can lead to a thick fungal mat (full of mycelium) that does not allow water or air to penetrate the ground around the roots. (See photo) I use a 3-pronged claw (a rake won't do) to break up the mulch. Ensure you redistribute the mulch at least 2-3 inches from the trunk. Rhodos will love the broken-up mycelium once it's wet, which is full of nutrients. I now mix fir cones with the mulch before spreading it, as the cones break down slowly and keep the mulch from packing, allowing water to penetrate even in the summer.
The Cowichan Valley is usually very wet in winter; what preparations should we make for the coming winter?
TAKING CUTTINGS
The October presentation is on propagation, so we'll have to compare notes!
Water your rhodos deeply.
Prepare your propagating bed or pots. I'll focus on pots here. Sterilize your pots by washing them, then dipping them in a 5-10% bleach solution.
Prepare your growing medium, usually 1/2 coarse peat & 1/2 perlite. Dampen the peat and leave it overnight to ensure there are no dry pockets. I spray the perlite to reduce dust before mixing it with the peat, and I wear a mask. Mix well. Note: You can also use coarse clean sand with peat. Coir (coconut husk) can be substituted for peat, but I find it takes a long time to absorb water, then dries out quickly.)
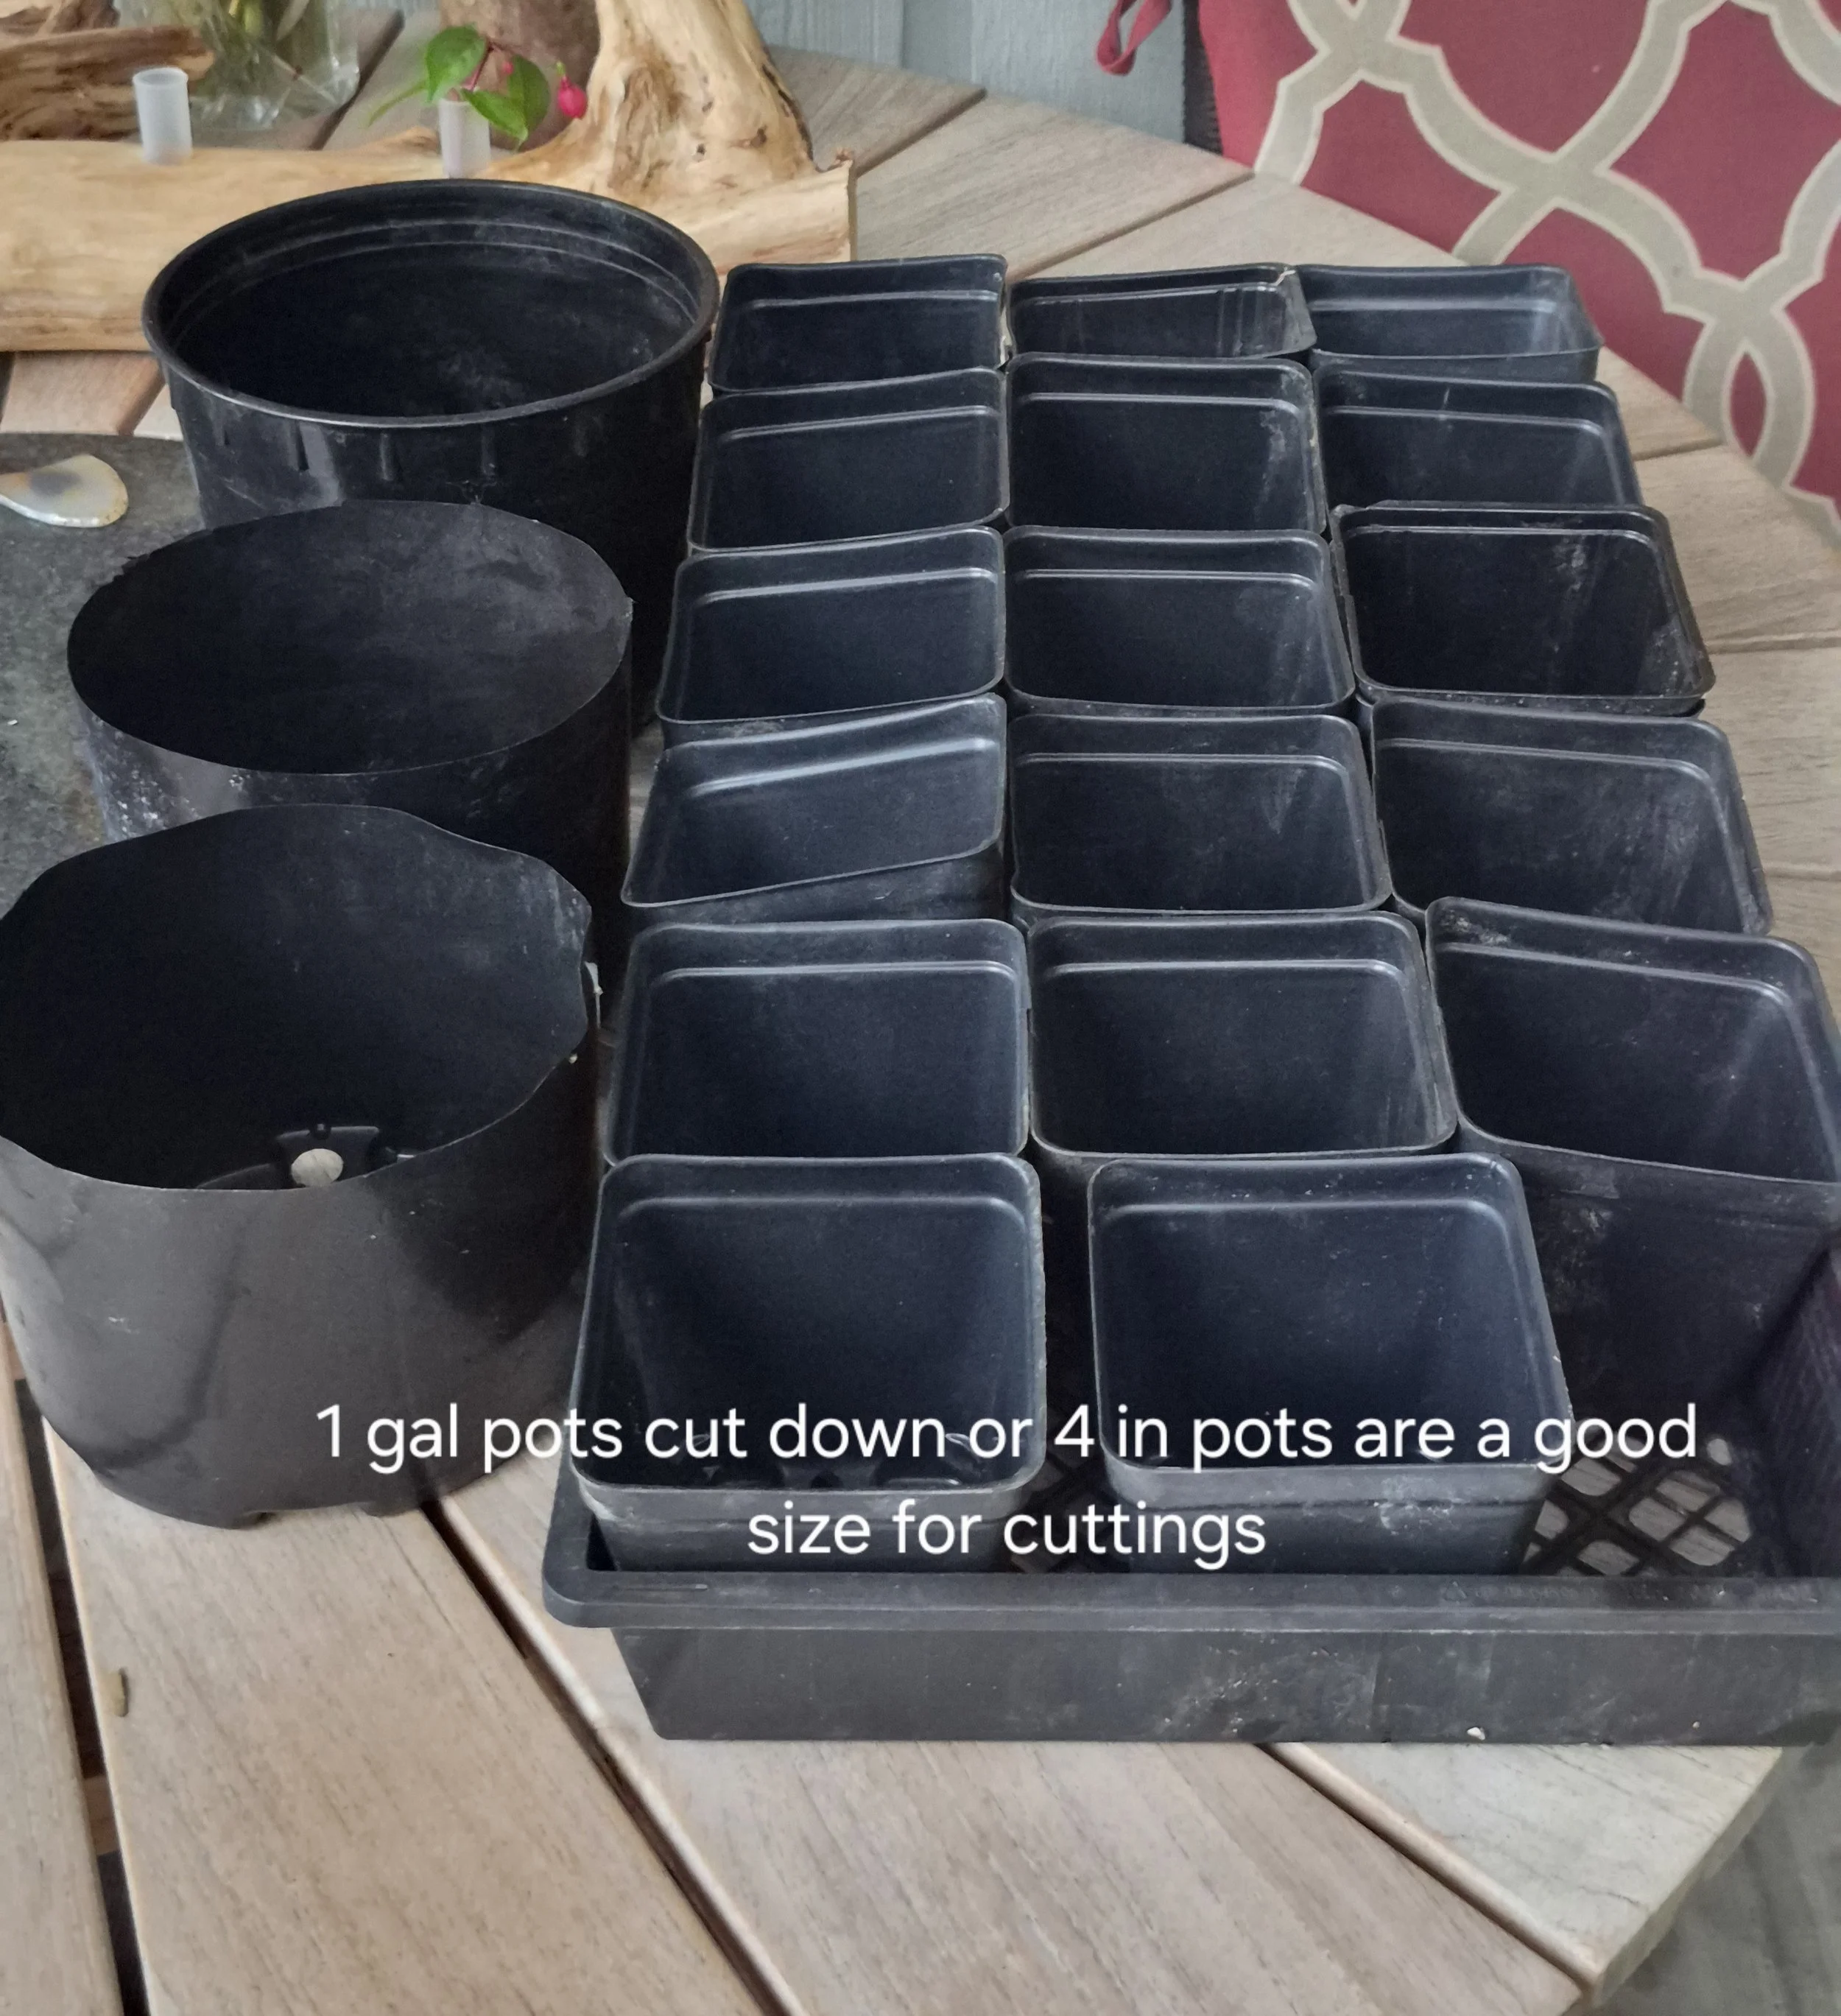
Sterilized pots. Those on the left are larger one-gallon pots cut in half. They allow more of one plants cuttings to be “stuck”
THE MORNING of taking cuttings, fill pots with your medium; 4-inch pots are good for 3-4 cuttings. You can use 1 gal pots and cut them down so they're only 3-4 inches deep, which will hold 5 to 7 cuttings. Press soil into pots. Have zip-lock bags ready to cover pots.
Take cuttings early in the morning.
Take semi hard wood cuttings from tip growth (this years growth) and preferably with no buds set.
Using a sterilized knife or secateurs, take 3" cuttings, remove all but 3 top leaves, cut back large leaves by 1/2. Small-leafed rhodos will be closer to 1-2 inches long.
Score 1 or both sides of the cutting about 1/2 in from the base to expose the cambium layer.
Dip semi-ripe cuttings in rooting hormone. Use a chopstick to make a hole in the pot mix for each cutting. The top of the cutting should be about an inch from the soil.
Press the soil around the stem and water lightly.
Cover the pot with a plastic bag and use an elastic band to secure it around the pot. Or use zip-lock bags for easier closure and better rigidity. You can use a wire to hold the plastic up and away from the leaves.
You can use a heating mat set at 21°C (70°F) or put your pots on a north windowsill.
I have used both a heating mat and a heating coil set in sand as the base for my pots to equal effect.
Keep an eye on your pots, keep misted and the soil moist but not saturated.
Editor’s Note: Always be diligent about labelling propagated material, whether from seed or from cuttings. It takes years for a rhododendron plant to flower to help you remember what you propagated.
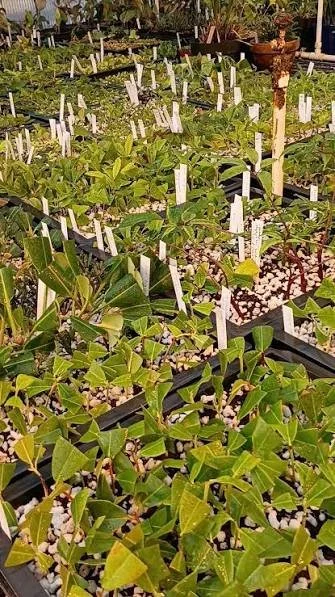
Editor’s Note:
Label all propagated plants, whether done by division, layering, seeding or by cuttings.
OTHER THINGS TO DO WITH RHODOS IN OCTOBER
MOVING. . .
Now that you've watered the heck out of your plants and taken cuttings, you can dig them up and move them! Being shallow-rooted, even big rhodos can be lifted quite easily. Carefully remove mulch and dig as far out from the trunk as you can lift, but you don't need to dig out to the drip line. Dig your new hole or prepare an appropriately sized pot with well-draining medium. I use a mix of 1/3 aged coarse mulch, 1/3 aged compost, 1/3 native soil, and a handful of bone meal. Place the plant in the hole at the same depth it was at originally, water well and top dress with 2 inches of mulch. Keep the mulch away from the trunk. Do not apply any fertilizer at this time.
PRUNING. . .
Although I live by the "prune after bloom" mantra, I have been pruning some older rhodos in late October right through the winter. I have pruned out up to 1/3 of branches each year for 3 years, leaving a more compact, healthier plant. These plants may not bloom for a couple of years. If you prune too heavily in one year, you'll get a lot of suckers, which then have to be removed.
BUD THINNING. . .
I look at bud set in Oct-Nov, and where there is a double bud, I'll remove one to ensure a larger truss in the Spring. Where I have 4-5 new stems from spring dead-heading, I'll take out all but 2-3 stems. I can use the ones I remove for cuttings.
To wrap up, I am trying various things to keep my rhodos healthy and not drain the well. Without more rainfall or transplanting many of them to Tofino, I am afraid they are going to diminish in number. We shall see what transpires.